Cart
Cart

Article Overview
In this article we will cover the following topics:
Shop Neodymium Magnets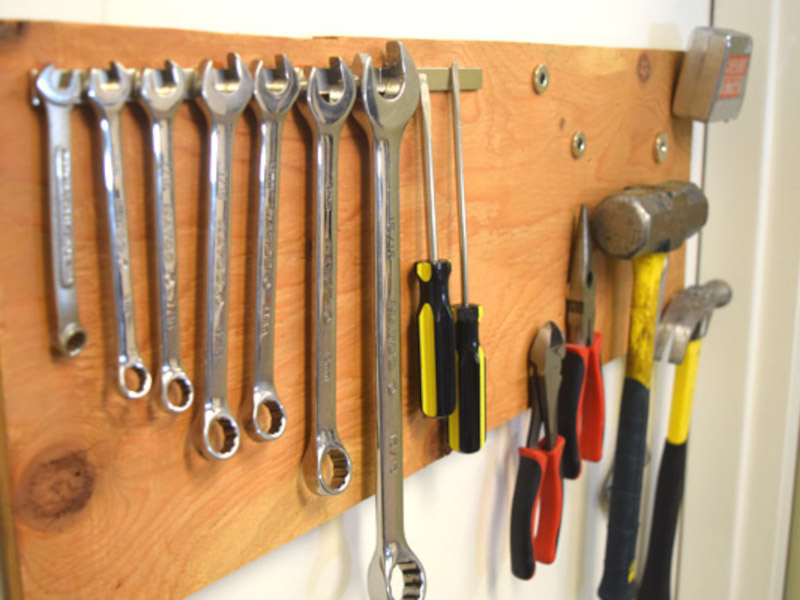
1. Organizing your tools using magnets
A messy toolbox full of wrenches, sockets and other tools can add frustration to that already irritating DIY project - it's a story we know all too well. You really need that 1/2" crescent wrench but can't find it anywhere, so you reluctantly buy a new one to finish the project, only to come home and find the old one sitting right in the toolbox!
We think that magnets can help! Follow along as we show a few ways of making magnetic tool holders and other ways to organize your tools.
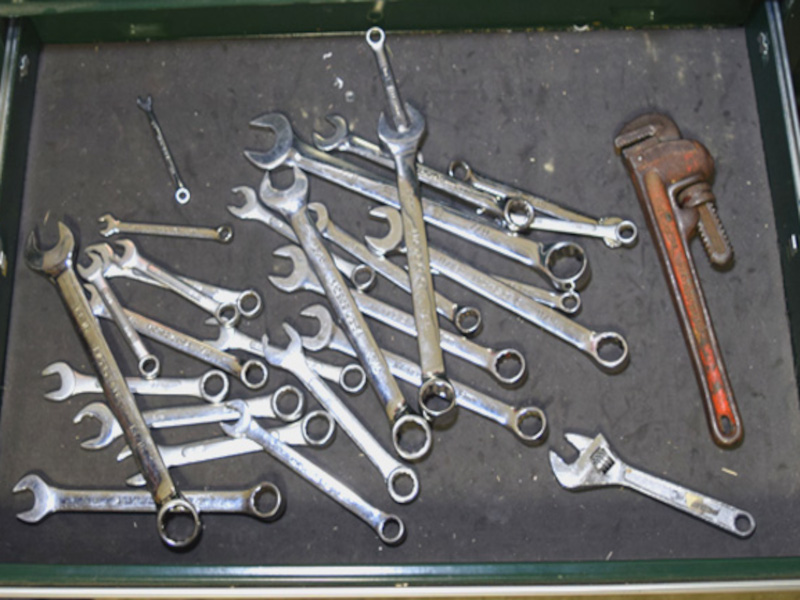
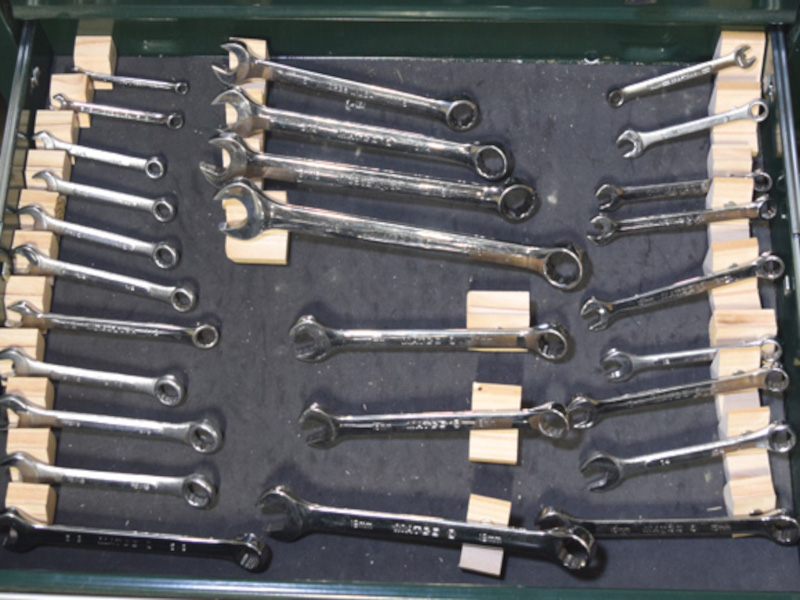
2. Magnetic drawer underlay tool holder
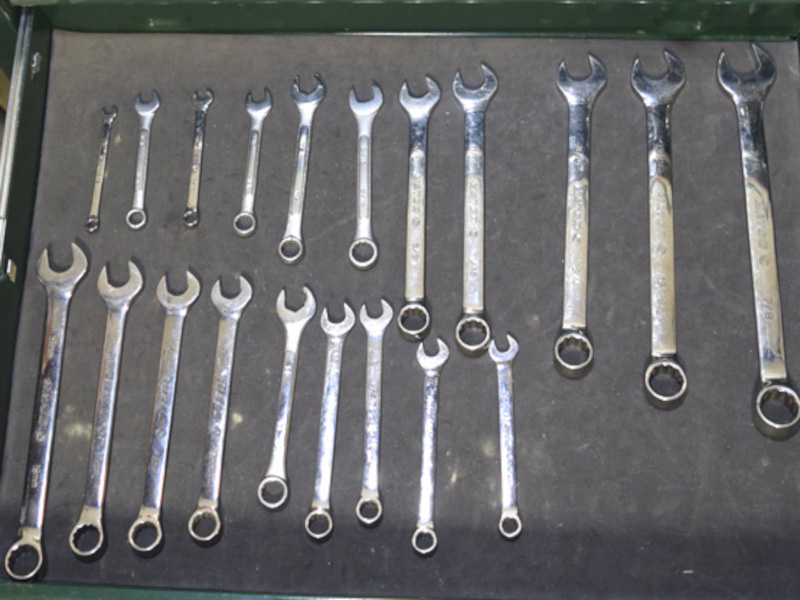
Have a toolbox with messy drawers full of sockets, wrenches, screwdrivers, drill bits and more? If so, a quick and simple solution is to line the bottom of the drawer with magnets to secure them. This will not only prevent them from sliding around, but will also make them easy to find and provide a nice aesthetic appeal. Let's use some magnets to organize those tools.
-
Remove drawer liner and add magnets
The first step is to remove the drawer liner or underlay. If your drawer does not have one, you can always add one to hide the magnets and prevent them from being scratched. In our case, the drawer liner was 1/8". Adding a liner is a gap and will reduce magnet strength. You can use our calculator to estimate the magnet strength through the liner and learn more about magnet strength in our How Much Will a Magnet Hold? article.
-
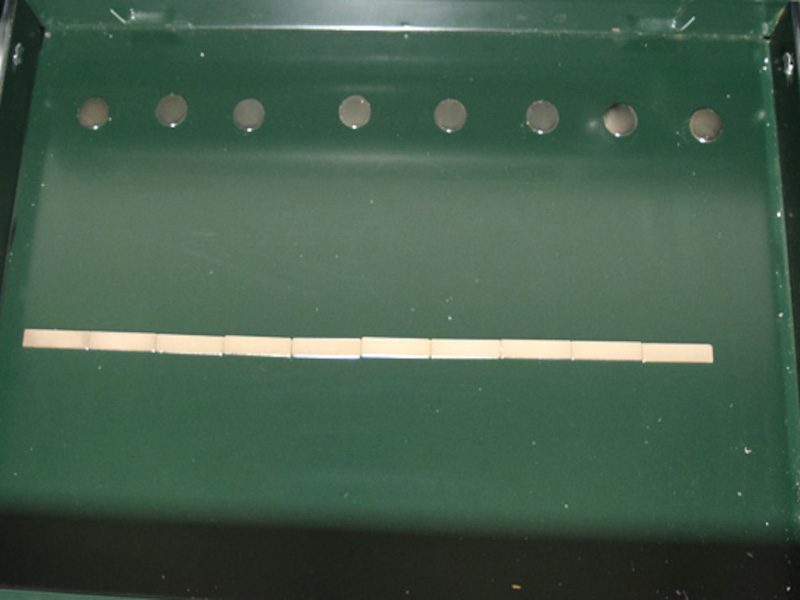
Choosing the right magnets
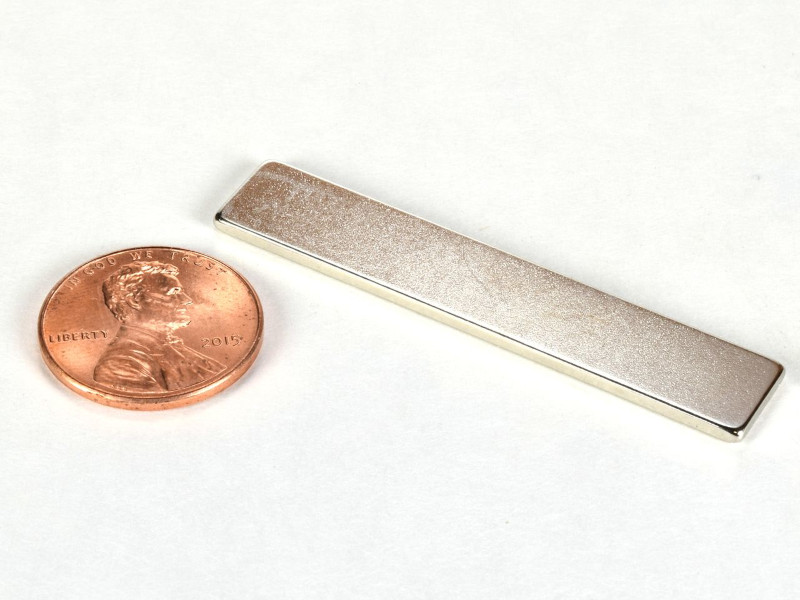
You can use either disc or block magnets, depending on what meets your needs. Our magnet-finder page is a quick way to find the right magnets for your needs.
We added a row of DX01 and BY081 for the wrenches to stick to. We found that through the 1/8" thick liner, these magnets had a pull that felt just right. The wrenches were held securely, but weren't too hard to remove. If you have a thinner liner, or no liner at all, these magnets might feel a bit strong. Instead, you could try something like the DX001 or BX0801.

-
Place drawer liner and start organizing
Once the liner has been placed, you can start organizing. As long as you put your tools back when you are done, you will always know where they are!
3. Magnetic wall tool holder
Not everyone has room in their workshop for a large toolbox and that is where using magnets to hang tools on the wall is a great alternative. Let's take a look at how to make your own wall hanging magnetic tool holder.
-
Decide how to hang the backing
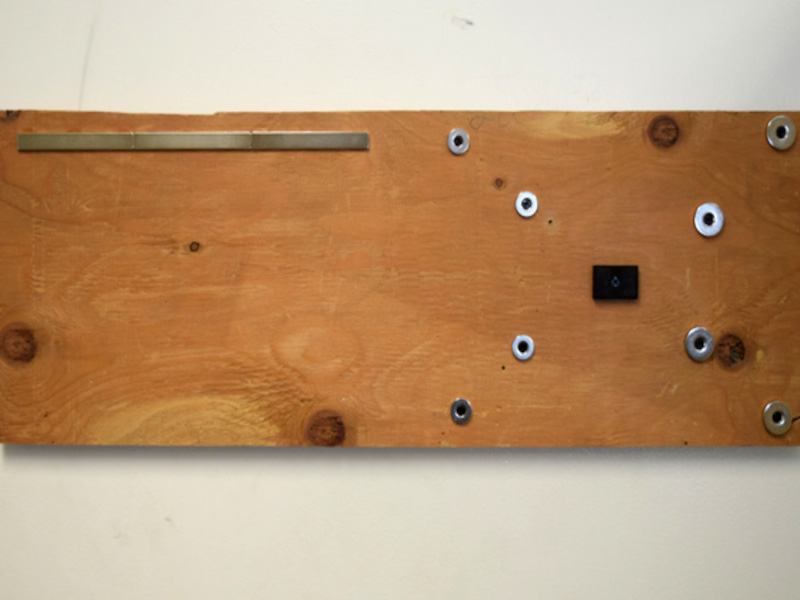
Unless you have a metal wall or setup, you will need some way of attaching the magnets to the wall. In our case we chose to have a wood backing.
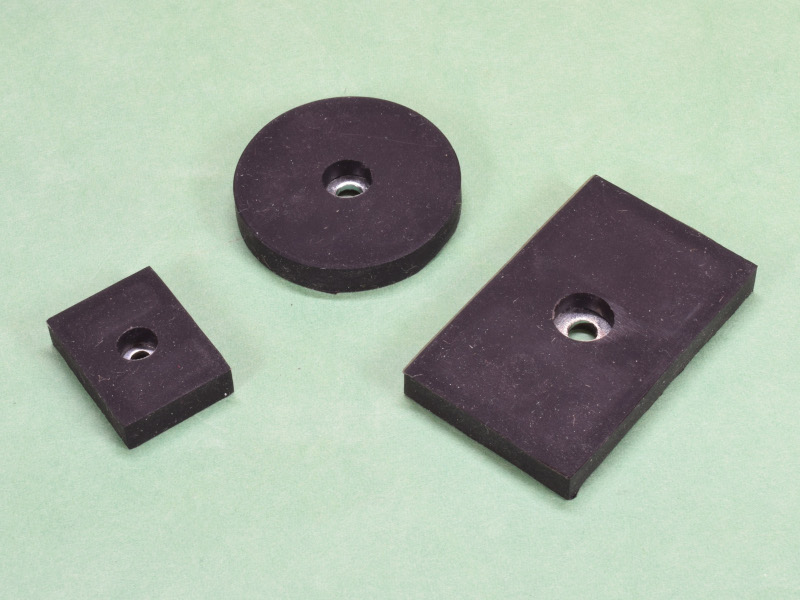
We secured the wood to a metal door using 4 high-friction rubber coated RMB-B-Y0 magnets. We could have just attached many of the magnets to the metal, but using countersunk and mounting magnets give you more flexibility in design and help prevent sliding. You can always screw the wood block into a stud, drywall or other material to hang. If the holder will be very heavy with many tools, you will want to make sure it is secured into studs or structural material.
-
Choosing the right magnets for hanging tool holder
Unlike the above drawer tool organization, when hanging, you need to deal with friction. Low friction and other factors can reduce magnet strength.
Factors to consider when choosing right magnet strength and type:
-
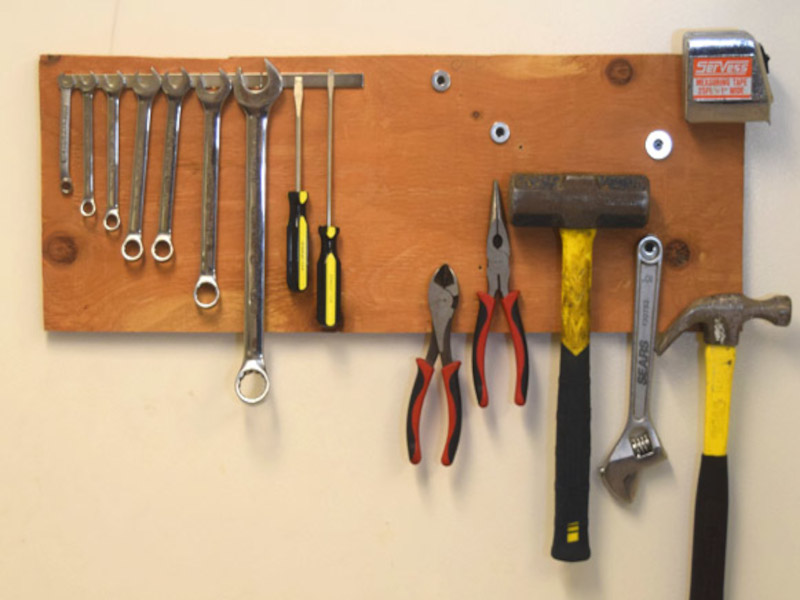
Friction: When hanging with magnets on a vertical surface, you may not get the listed pull force due to low friction. Check out our Leverage & Friction When Using Magnets article for more info. Our rubber coated mounting magnets are perfect for this as they add friction to add traction and preventing slipping. For a really heavy tool, like a steel mallet, we needed the RMB-B-X8 to prevent sliding.
-
Magnet size and grade: The grade of the magnet can provide higher or lower pull force and the size can also enhance strength. Bigger is not always stronger though, it depends on where the highest concentration of magnetic field is.
-
Magnet shape: The shape matters in a similar way to magnet size. Since discs have a lot of the strength on the outside edges, a shape and size that match the shape and size of the tool may provide a better hold than other shapes or sizes.
-
Gaps: If the tools have a rubber or plastic coating or the face that touches the magnet is rounded, every part of the tool not directly touching the magnet is effectively a gap and will lower the effective strength of the magnet.
-
-
Magnets that we chose:
-
Very heavy tools: We had to use a rubber coated RMB-B-X8 mounting magnet for the heavy sledge hammer to increase friction and prevent slippage.
-
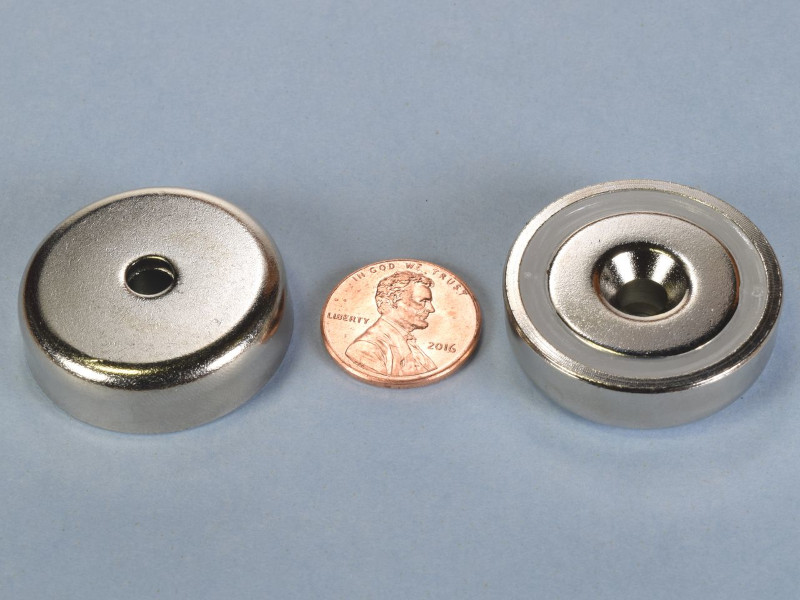
Heavy tools: For tools that are somewhat heavy, you may need to find a good countersunk magnet like the RC22CS-N and RX033CS-N we used. Here the disc shape more closely matches the shape and size of the tools and was used for more strength.
-
Light tools: For light objects you can make a row of block magnets like we did with the BZX082 magnets. It worked well for the wrenches and screwdrivers, but not so much for heavier tools.
-
-
Follow along in our DIY video guide for a magnetic tool board
Explore Magnets for Tool Holders
4. Magnetic block tool holders
Circling back to organizing our toolbox drawers, we wanted to make something that would hold tools in a neat, unique way. We'll focus on the wrench drawer again.
Looking at various tool holder products online, we picked a design that would allow the wrench size to be easier to see. We were able to make 30 of these organizers using a 10" long 2x4. The pictures below show the basic steps for how we made these holders, though there are probably many different ways to make something similar.
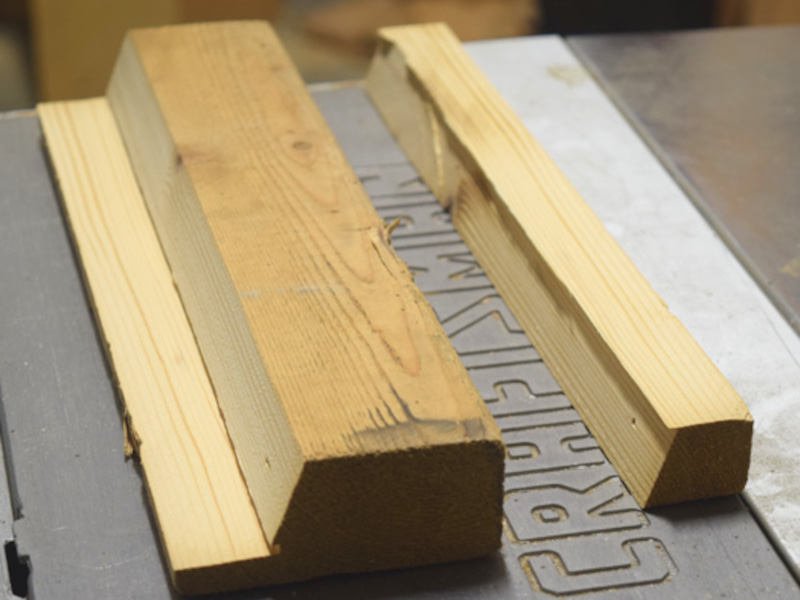
Step by step guide for holder blocks
-
Make the first cut in the wood to determine the height of the tool holders. This will vary based on the size of tools you want to organize and the style you are going for.
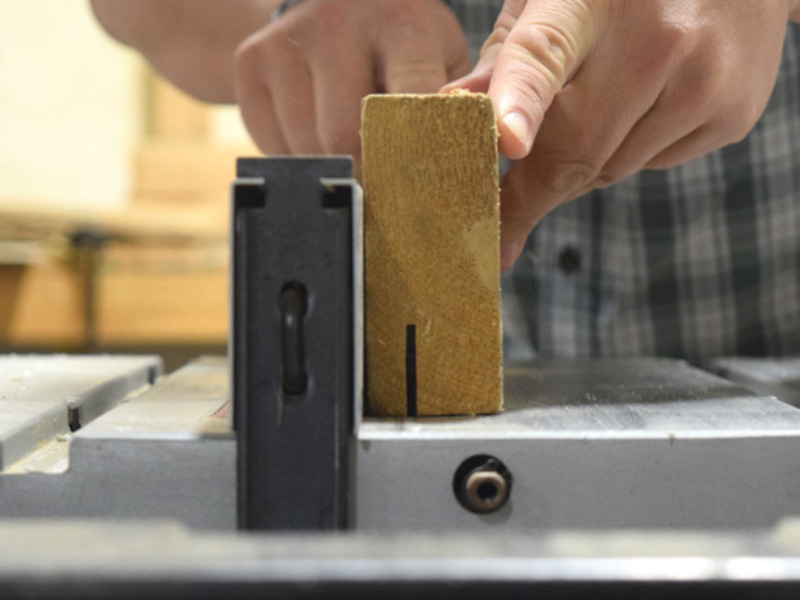
-
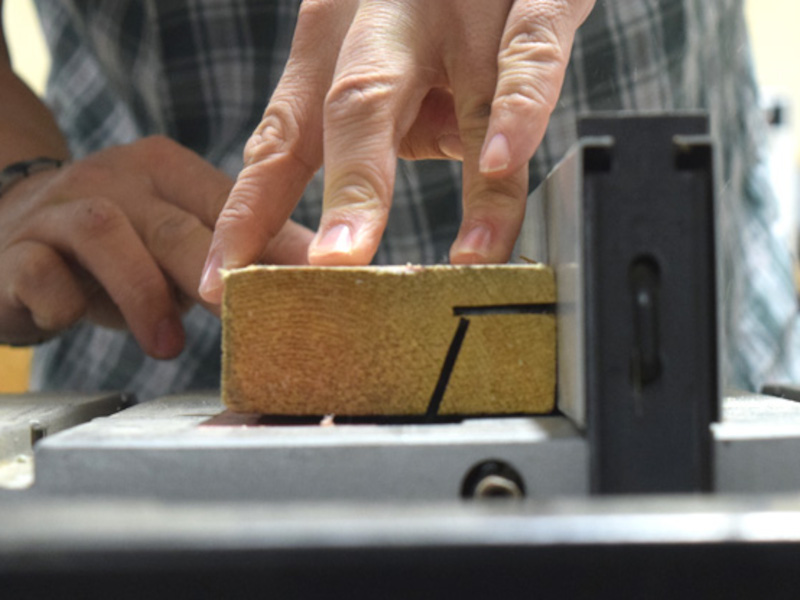
The second cut will decide the angle of the holder and have a large effect on the overall appearance.
-
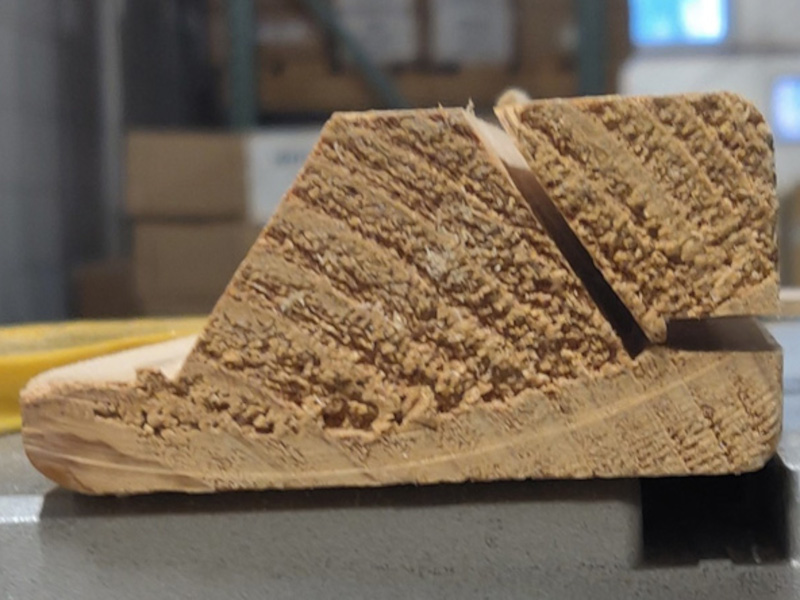
The leftover wood would normally be scrap, but if you use it cleverly, you can make it into blocks as well to hold more tools.
-
Repeat cuts on opposite side of main block and then use a saw to cut down the middle to split into 2 rows.
-
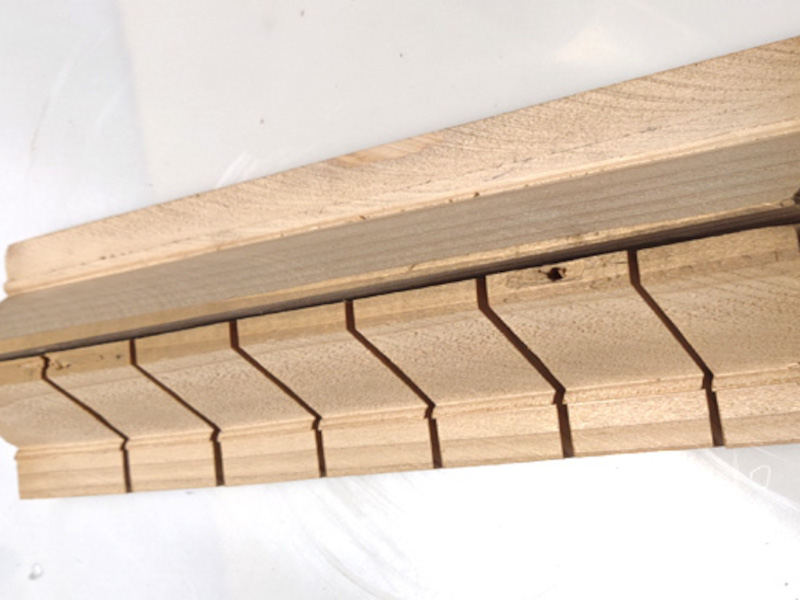
Make cross cuts in the board to get the final block shapes. You can choose a width here that works for your needs. Be sure to plan ahead and consider the width of the saw blade times the number of blocks to get the total width.
-
Attach magnets to each block. We found that a DC2 or DC2E adhered to the bottom of the holder held it firmly in place through the 1/8" thick drawer liner. We stuck the magnets to the wood using our adhesive dots, but you could also glue the magnets with epoxy. For most wrenches a D61AD-P was sufficient in holding it up, but for some larger sizes, a D81AD-P or D8H1 might be needed.
If you have a thinner drawer liner, you could probably use the DC1AD-P or DC1 on the bottom of the holder.
If these tool holders were going to be used for smaller tools, like drill bits, hex keys or screwdrivers, you might not need something as strong as what we used for the wrenches. We offer a huge variety of magnets, so there is a nearly endless set of combinations that could be used.

-
Place blocks where needed, organize your tools and have more time to do what you love instead of wasting time searching for the tool you need!
5. Organizing your workshop with magnetic storage
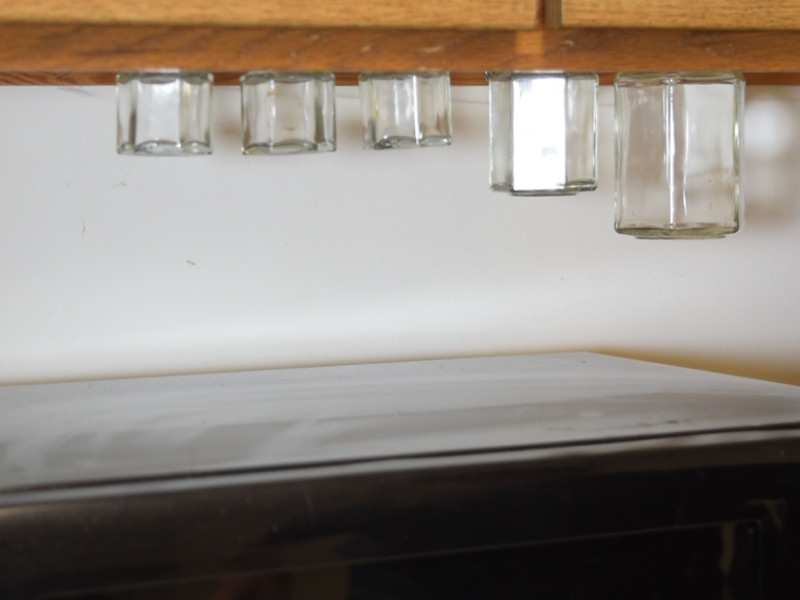
Magnetic jar hardware holders
If you do not have enough space to store hardware like screws, nuts, bolts or washers in your shop, you can utilize magnets with jars to hold your hardware and stick it on a metal shelf or wall, or countersunk magnets on a wooden board. They can be hung on both vertical and horizontal surfaces like below pictures.
Check out our Magnetic Spice Jars article for a DIY guide on how to use jars to hang things. In the article we made magnetic spice jars, but you can literally put anything inside.

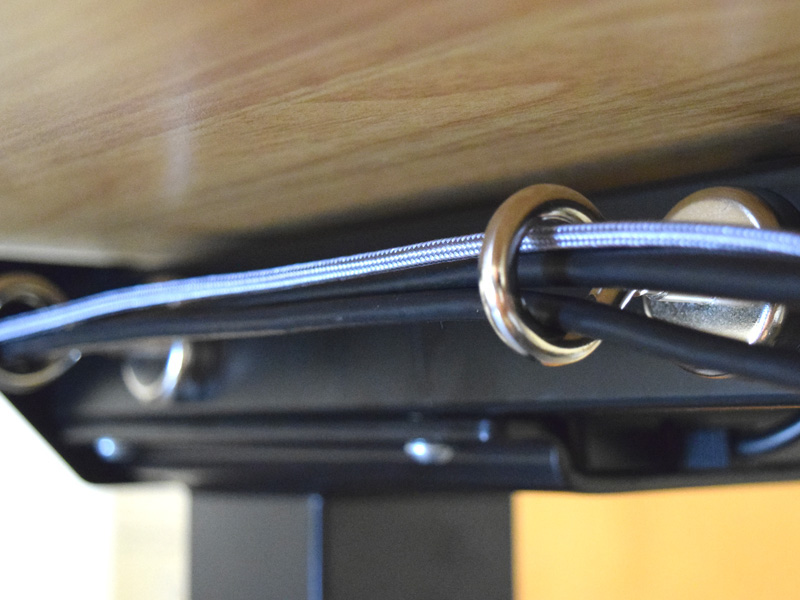
Magnetic cable management
Tired of cords all over the place? Our eye hook mounting magnets or hook magnets may be the perfect solution! Check out our Storage & Organization with Magnets article to see how we used magnets to clean up cables in our office.